Hardening an Ubuntu 22.04 Server
Purpose
Recently I set up a remove access tunnel to my home network with the plan to expand it to tie multiple sites together. My ISP put my internet connection behind a commercial Grade NAT, so I will need a cloud instance to act as a publically accessible entrypoint to my tunnel.
I have set up a hub and spoke configuration network with access to whole sites as well as individual devices on random networks using WireGuard!
I will write about how I set all that up later, but first I needed to harden a linux machine in the cloud to act as my public access point.
The Process
I chose Ubuntu 22.04 as the OS for my public cloud instance. To do this we will:
- Choose a good root password
- Update the OS (configure auto updates)
- Configure SSH
- Configure fail2ban
- Configure ufw
- Configure apparmor
Lets get started!
Choose A Good Root Password
This one is obvious. We need a strong preferably randomly generated sufficiently long password. If your fancy use a password manager to store and retrieve this password. Its a pain to login initially, but its worth it because your password should not be in any brute force dictionaries.
Generally its a good idea to disable root login. I did not do this in my case because my root password is obnoxiously long and random. I think the default for Ubuntu is to have root login disabled, but the linode vm I am using has a root account set up.
Make sure you have a non root user with membership in the
sudogroup and you have a very strong password.This command will add a user named
newuserto the sudo group. Obviously you should replacenewuserwith you users actual name.sudo usermod -aG sudo newuserOnce that is complete you can expire the root password with this command:
sudo passwd -l root
Update The OS (Configure Auto Updates)
Setting up automatic security updates will ensure the new machine will get security updates automatically.
First we need to make sure we have unattended-upgrades installed:
sudo apt install unattended-upgrades
After that we can run the following command to start the unattended upgrades:
sudo dpkg-reconfigure --priority=low unattended-upgrades
This will start an interactive prompt to start unattended-upgrades
dpkg-reconfigure is a utility that will reconfigure a package after it has been installed.
Configuration for unattended-upgrades can be found here /etc/apt/apt.conf.d/50unattended-upgrades. A nice to have is setting up the email feature if there is an issue. There are additional hoops related to that which I do not
Configure SSH
The sshd_config file is located at /etc/ssh/sshd_config
You can also add a config file to the /stc/ssh/sshd_config.d directory and it will override the same values as they are found in the main sshd_config file.
After updating you sshd configuration you can run the following to reload your configuration:
sudo systemctl reload sshd
There are a few things we want to modify in our sshd_config file:
Disable Password Login Via SSH
Set the PasswordAuthentication value to no
# From
#PasswordAuthentication yes
# To
PasswordAuthentication no
Enable Public Key Authentication
Make sure the PubkeyAuthentication value is yes. yes is the default so it should already be set…
# From
#PubkeyAuthentication no
# To
PubkeyAuthentication yes
I feel like this goes without saying, but be sure to add your ssh public key to the machine so you can ssh in using public key authentication.
(Optional) Change SSH server port
If you are so inclined you can change the ssh server’s port to something other than 22.
I personally don’t ascribe to security through obscurity, but in this case it will not hurt anything.
If you want to do this set the Port value to your desired port. For instance 9876. Do make sure to modify or comment out the line that sets this to 22 if you do change it because according to the documentation sshd can listen on more than one port at a time…
# From
#Port 22
# To
Port 9876
Configure fail2ban
fail2ban is a very cool service that will jail ip addresses that fail login more than a configured number of times. By jailing it means it will create temporary firewall rules to block offending ips. The primary use for my machine is to prevent repeated failed login attempts via SSH.
Installing fail2ban is easy
sudo apt install fail2ban
The /etc/fail2ban/jail.conf file contains the base configuration for how fail2ban finds logs for various applications and servers so that failed login attempts can be tracked by fail2ban. The standard settings are pretty robust, but feel free to read the config file and play around.
Once installed we can enable and start the service by running these commands:
sudo systemctl enable fail2ban;
sudo systemctl start fail2ban;
Then to check that is running we run:
sudo systemctl status fail2ban
If the result shows that the service is active then it is good to go.
Configure ufw
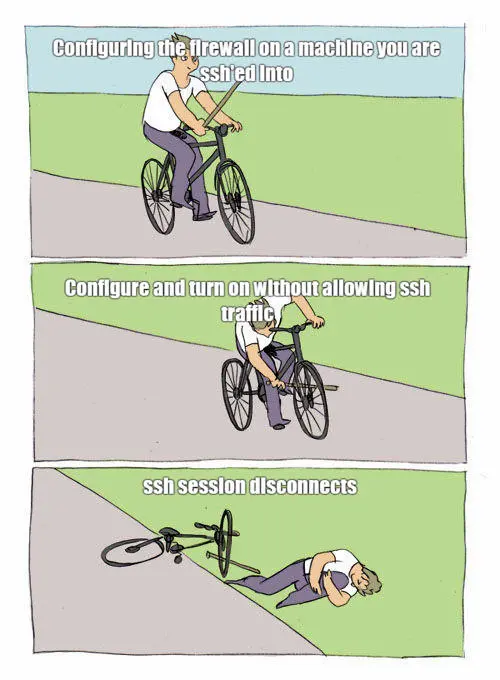
Next we want to set up ufw which is a utility for managing netfilter rules AKA your firewall. For my purposes I need to allow ssh and wireguard traffic into my system. Everything else inbound can be blocked.
# Enable the ufw service
sudo systemctl enable ufw
# Start the ufw service
sudo systemctl start ufw
# Allow ssh traffic
sudo ufw allow 22/tcp comment "Allow SSH"
sudo ufw allow 51820/udp comment "Allow WireGuard"
# Add the rules you need as additional like like the one above.
# Turn the ufw on
sudo ufw enable
# Check the ufw status and confirm it looks good
sudo ufw status verbose
Configure apparmor
Finally we want to get apparmor turned on as an additional layer of protection. Apparmor can restrict applications access to system resources / capabilities via the use of apparmor profiles.
sudo systemctl enable apparmor
sudo systemctl start apparmor
You may want to look at adding custom profiles or making profiles for your custom applications to constrain them if necessary. I don’t need anything like that, so I can elaborate on that in later articles.
Apparmor is a very powerful tool and you can really tighten your system down with it. I may write in detail about creating apparmor profiles in the future.
Conclusion
Now we have a machine with remote access via ssh and locked down for the purposes we need. Next step will be to get the wireguard network set up which I will write about in detail.